How to build your WordPress portfolio
Buying a domain and hosting: For those of you who are wondering what’s a domain, in layman’s language, domain is the link of a website; for example googl
- by Kasmin Fernandes 2018-04-09 10:18:22
Continuing with our “Freelancing” series, the next topic I want to talk about is how you can build your portfolio using WordPress.
You can also use a free portfolio service such as FolioHd.com, but I would recommend creating your own website, and WordPress website development does not require you to code. It’s something anyone can do and yet most people find difficult and tedious
This will be a step by step guide and if you’re a newbie, you need not worry. I’m gonna list out the core steps, which will get your website up and running.
- Buying a domain and hosting: For those of you who are wondering what’s a domain, in layman’s language, domain is the link of a website; for example google.com or facebook.com or alldatmatterz.com. Easy, right?
Hosting can be defined as the space that you buy on the internet to upload your website.
Domain and hosting can be bought from a web hosting company like GoDaddy.
For a portfolio, you can go with the basic plan, that should just work fine. - Selecting a theme: It can be a free one or a paid one, select any design that you like. Google what you want, for example, “WordPress portfolio theme for Graphic Designers” or “WordPress portfolio theme for Content Writers”, you’ll get ample amount of options to download. I will suggest you to go for a free one if you’re just starting out with freelancing.
You can check out ColorLib or AThemes for a good collection of all types of themes.
The theme you’ll download will be download as a zip file. Do not unzip the file, we will be uploading the zip file as it is. - Uploading the theme onto your C-Panel: Sounds technical? Well it is, but it's so easy, that you can do it in the wink of an eye. So basically all you have to do is to log in to your web hosting account (web hosting companies provide you with login credentials), head over to the C-Panel (again, you might be asked to enter login credentials, provided by the web hosting service), it's different for different web hosting companies. Once you have successfully logged in to the C-Panel of your account, look out for WordPress option, upload the zip file. Done! Easy enough.
- Customizing your theme: This is my favourite step, you get to become all creative and customize your theme to and the actual website comes into sight at this point. Customization of every theme is almost identical and not that difficult, but if it’s your first time, you might want to learn a little about using WordPress dashboard.
If you’re starting with freelancing, it’s really important to get your portfolio up and running. Client’s care about your previous work, and there’s no better way to showcase your talent other than your designing your own website.
Also, I would recommend you to create the following sections in your website:-
- Your services, highlight your skills and what you are capable of.
- Your portfolio, if you haven’t done any work, create something, as I said earlier, bring life to your ideas, become creative. Having some work will help you a lot in procuring that first client.
- Testimonials from your clients, if you have any. Don’t worry if you don’t, you can skip this.
- A contact form. Obvious. You’ll be sharing your website’s link everywhere, and you never know, who might want to get something done from you.
- An “Order Now” option, back link this option to your freelancing profile on Fiverr or Upwork. I did this while creating my website, and people ended up ordering stuff.
All this might seem difficult, but if you go step by step, I’m sure, you can do it.
If you have any doubts/questions, post them in the comments! I will be more than happy to help you out.

POPULAR POSTS
How Praveen Gowdru Went From Building VMEDO To Launching Tez Health And Why He Betting On Home Healthcare
by Aakash Ladha , 2026-07-01 11:01:27
Flipkart Co-founder Sachin Bansal Navi Plans ₹3,000 Crore IPO by March 2027: Report
by Aakash Ladha , 2026-07-09 12:32:27
Big Media Communications: Powering India Creator Economy
by Aakash Ladha , 2026-07-03 12:29:39
Artiure: Where Indias Art Finds New Expression
by Aayush Ladha, 2026-07-06 11:51:52
EazyPharmacy: The Startup Making Medicines Easier to Find Across India
by Aakash Ladha , 2026-06-30 10:31:54
Campa Cola Hits ₹4,700 Crore, Becomes India 4th Largest Soft Drink Brand
by Rahul Rathee, 2026-06-30 11:24:04
Pine Labs IPO 2025: Listing Date, Grey Market Premium, and Expert Outlook
by Shan, 2025-11-05 09:57:07

Follow on Insta
RECENTLY PUBLISHED

Otobot Technologies: Driving the Future of Automotive Innovation
- by Aayush Ladha, 2026-07-06 12:06:39
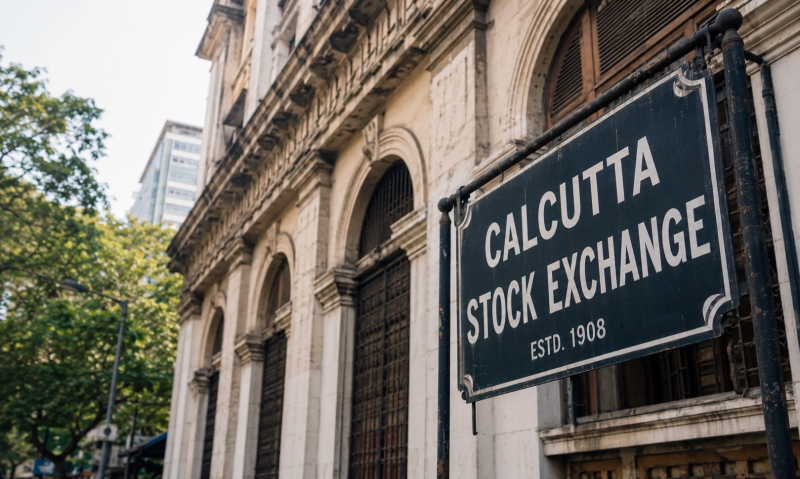
Calcutta Stock Exchange Really Make a Comeback Heres Whats Going On
- by Aayush Ladha, 2026-06-30 12:05:32

Speakers United Concludes Its Biggest Debate Camp Yet 80 Students, Zero AI Assistance
- by Aayush Ladha, 2026-07-01 11:26:25
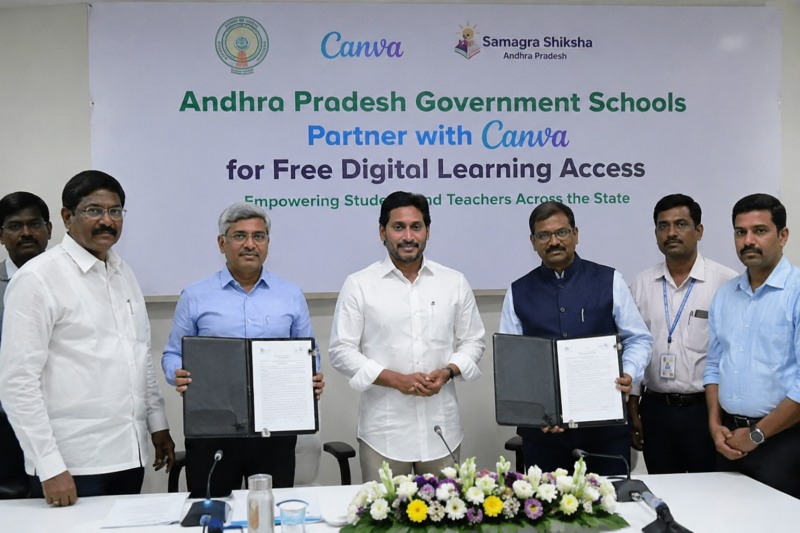
Andhra Pradesh Government Schools Partner with Canva for Free Digital Learning Access
- by Aayush Ladha, 2026-06-30 11:50:02

How a Free AI Visibility Tool Helps Businesses Grow in the AI Driven Search Era
- by Aakash Ladha , 2026-03-06 10:40:04
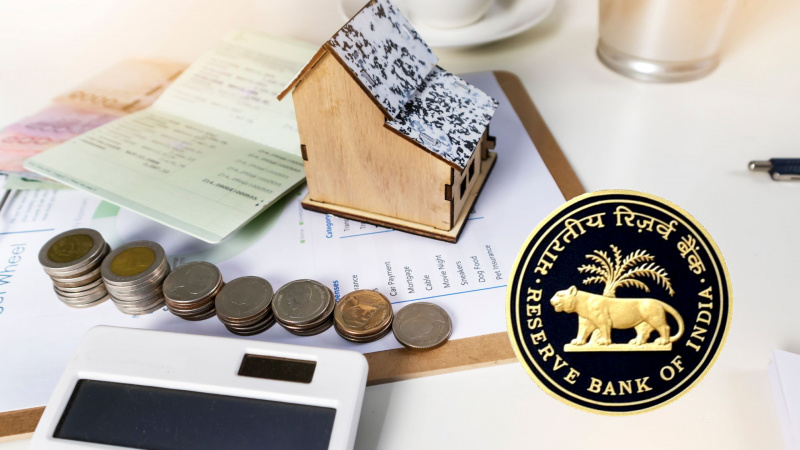
Loan EMIs to Drop as RBI Slashes Repo Rate - Full MPC December 2025 Highlights
- by Shan, 2025-12-05 11:49:44
x
![logo]()